21 Feb How to Frame your Fabric in an Embroidery Slate Frame
After creating the Seahorse Button and Bead Art artwork in Embellish issue 41, Lynda’s friends were adamant that she needed to show people how she had framed up her fabric in the embroidery slate frame so that no pins were sticking into her as she worked on the seahorse. Lynda promised she would get the information out to readers (and her friends ☺). Unfortunately, as she had not taken photos of this part of the process, it could not make it into issue 41, and so appears here using photos of another piece currently under way for Embellish issue 42.
____________________________________________________
Working on your embroidery using an embroidery slate frame means that you do not get hoop burn on your fabric – which is why I used one when stitching the seahorse on the silk backing. You can also use one when you have a large area to embroider as you can roll your work on the dowel rods and only have the area you are currently working on exposed. Obviously, this would not work when creating the seahorse with buttons and beads…. too bumpy!
The method I have used here is just one of a few ways to stretch your fabric on an embroidery slate frame, and it relies on the frame having tape set up on the dowel rods.
Position your frame in front of you. We’ll start with one dowel rod.
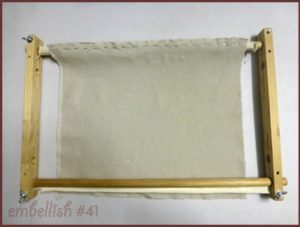
First side of fabric pinned.
With your fabric face down, align your fabric edge with the tape edge – ensuring you are working parallel with the grain of the fabric. At the centre point, on the fabric side, pin the fabric to the tape, then work your way out from here along the edge, ensuring that the fabric is taut but not overstretched, placing pins very close together.
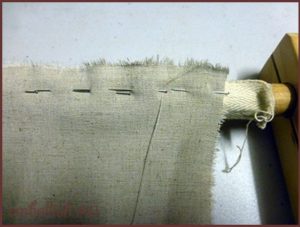
Close up view of pinning.
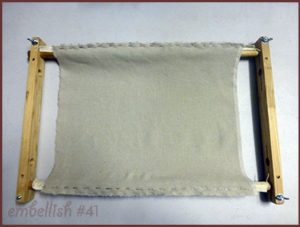
Both sides pinned.
Repeat on the other side, making sure that your fabric is right side towards the tape, and aligning fabric edge and tape edge.
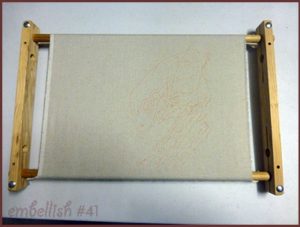
Fabric stretched taut.
Turn the frame so that the right side of the fabric is facing towards you. Roll both dowels outwards until the fabric is taut and secure in place with the metal bolts. (The red markings on the fabric are the outline for the embroidery I’m about to do ☺)
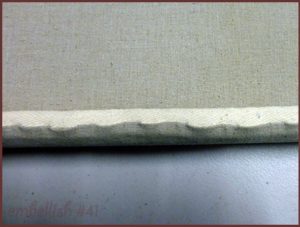
The pins are hidden.
You will notice that the pins have disappeared beneath the fabric and away from sticking into you as you work ☺ – enjoy embroidering!
Note: You may additionally wish to stretch your fabric in the other direction, depending on what you are embroidering. Let me know in the comments if you wish to be shown how to do this using a length of cotton tape and pins. However, if you do this, you will not be able to roll your fabric to a new area to stitch (if your area to be stitched is wider than your frame) without having to remove the tape and reset it.
No Comments