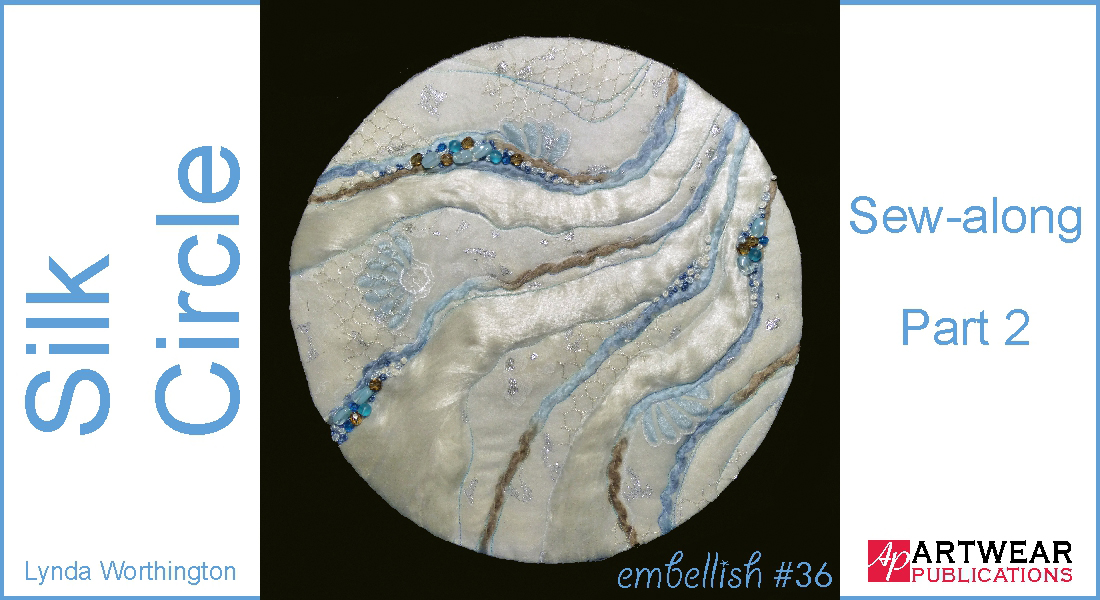
02 Jan Silk Circle Sew-along Part 2
Here’s the second, and final part of the sew-along to create the Silk Circle project as seen in Embellish issue 36 – I hope you’ve been having fun so far! (Click HERE for Part 1)
Let’s start the stitching and embellishing ☺
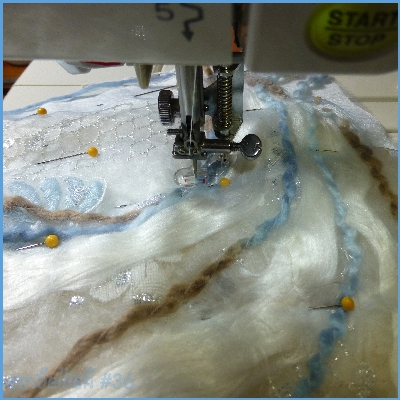
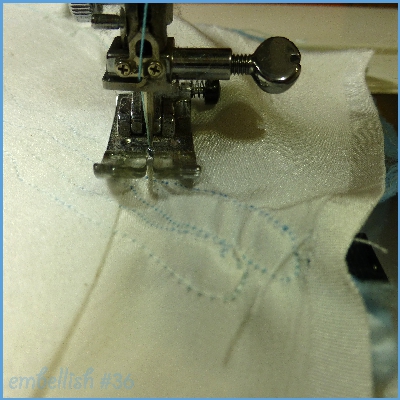
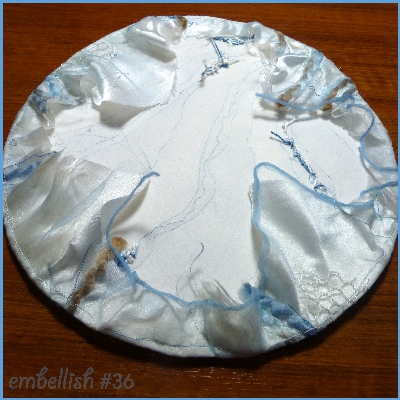
With your sewing machine set to free motion work (check out your machine’s manual, as each machine may be different), and using white thread to blend in with the background, lay down some basic lines of stitching, matching your design lines. Do not run over any pins – remove them as you get to them:
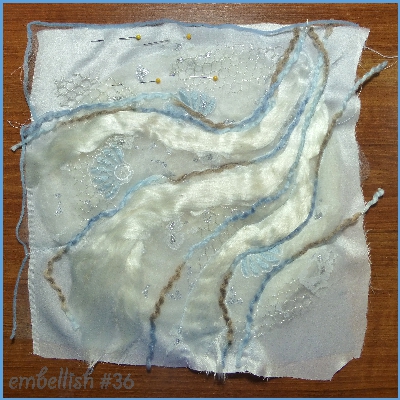
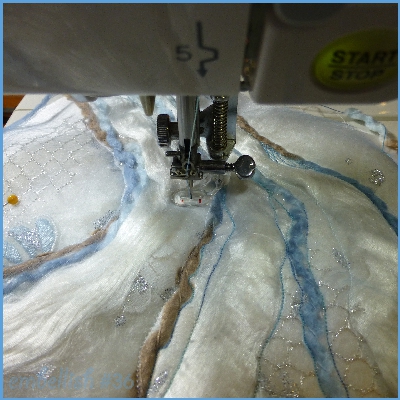
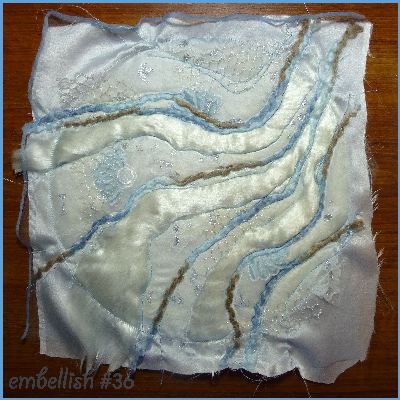
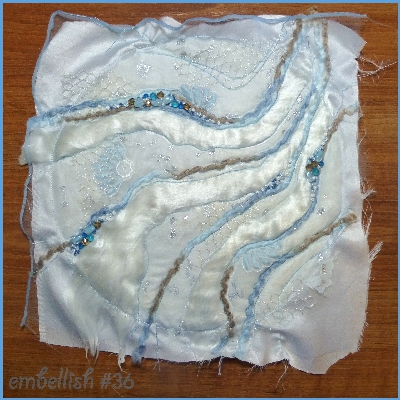
When you have stitched down enough areas, come back through using coloured threads and create more design lines/elements:
Once you are satisfied you have stitched enough lines, turn the work over, and with your machine set to normal sewing, stitch through all layers, approximately 0.5cm outside the border of the stabiliser. This is so that you can see a border from the front of your work when you are adding extra embellishments:
We’re not finished yet with adding design elements! ☺
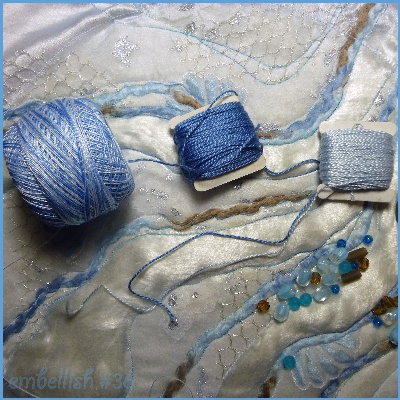
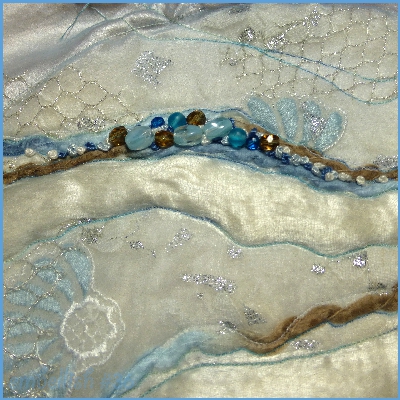
Audition different items to place as embellishments on your work – bling, threads, beads, etc. . Be willing to say “no” to the piece of bling you thought (as I did) might work, but looks too heavy… even when I unravelled it…:
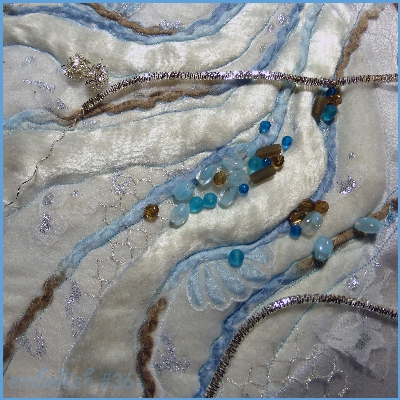
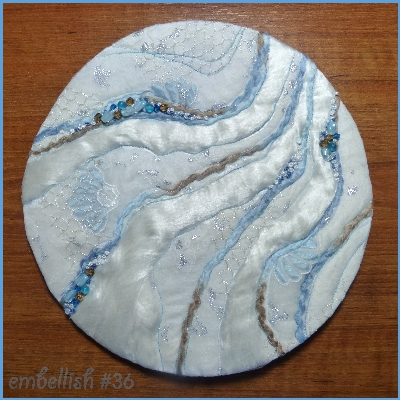
Embellish the top of your work – I used French knots and beads. Make sure you stay within the border line you stitched previously:
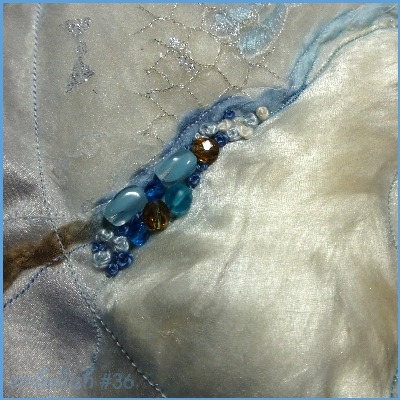
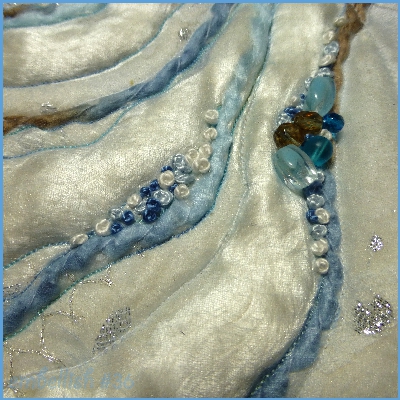
Continue until you are happy with the arrangement you have created:
Place your work wrong side up, and fold to the back the excess fabric, gluing it down as you go:
Once the glue has set, glue your work to the cork tile:
A hanging device can be added at the back if desired.
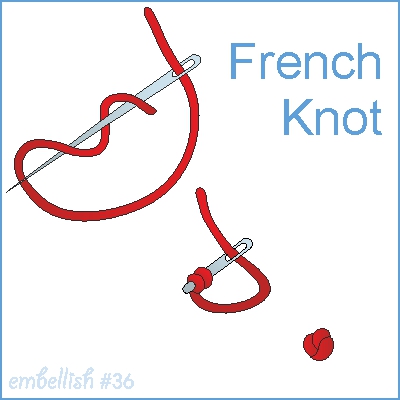
If you’d like to add French knots to your work, but are unsure how to stitch them, here’s how:
French Knot – After coming up through the fabric, you may wind the thread around the needle once, twice, thrice, or more – depending on the look you are after. Keep some tension on the thread (I find I need two hands) and the knot touching the fabric, re-enter the fabric close to where the thread comes out, taking the needle carefully through to the back and gently pulling to tighten the knot.
So, how did you go? We’d love to hear from you.
If you have any questions, please leave them in the comments section below ☺
This project is by Lynda Worthington, Editor of Embellish magazine – see more of Lynda’s works HERE and HERE.
No Comments