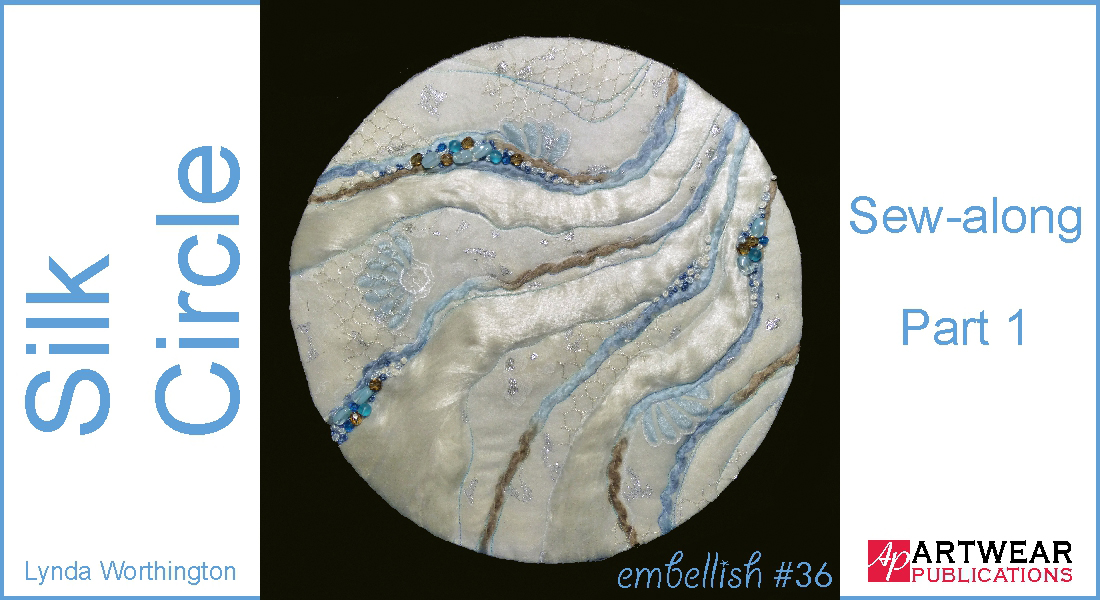
01 Jan Silk Circle Sew-along Part 1
It’s the first part of the sew-along to create the Silk Circle project as seen in Embellish issue 36 – make sure you choose your own colours if blues are not you!
Let’s get into it and have some fun!
Gather together your materials as per the list provided on page 50, Embellish issue 36. Pick and choose from your stash, or use this as an excuse to go out and gather more stash ☺
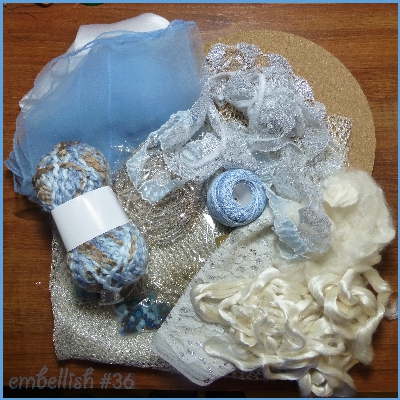
You may not use them all, but it’s fun to see them all together! – you may even find inspiration for a further project.
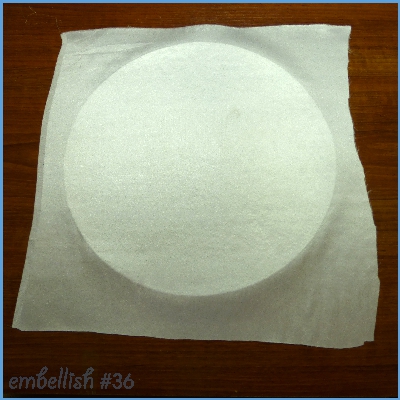
Centre the stabiliser to the back of the satin and iron in place:
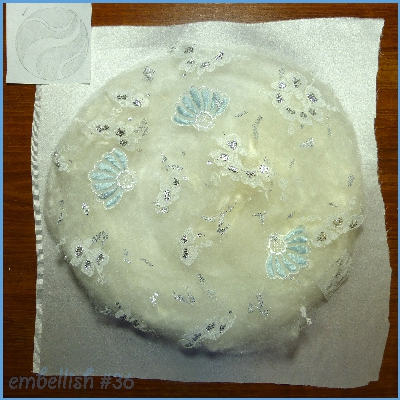
Tease apart the silk cap and place centred on top of the satin – going to the edge of the circle. I had a basic design in mind (see the piece of paper at the top of the picture below) which I followed when adding pieces of the laces, followed by pieces of the mesh fabric:
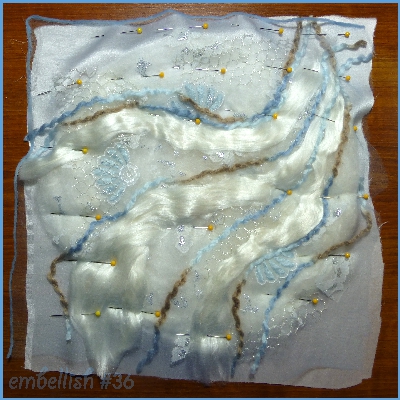
Gently pull apart lengths of the silk tops and lay them as per your design lines on top of the work, then lay down lengths of the yarn. Don’t be afraid to go past the edge of the circle as this will look better than an abrupt stop:
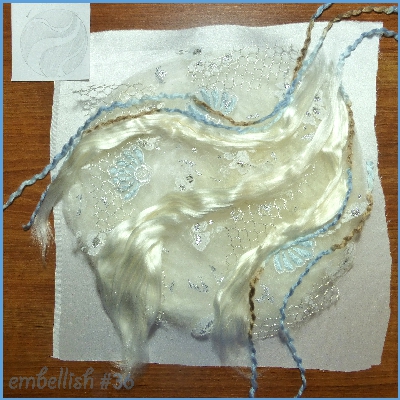
On top of this place the sheer scarf:
The colour of the scarf you use will change the look of your finished artwork. I have used a pale blue scarf – a white scarf would have given a totally different look. You may wish to audition a few different scarves.
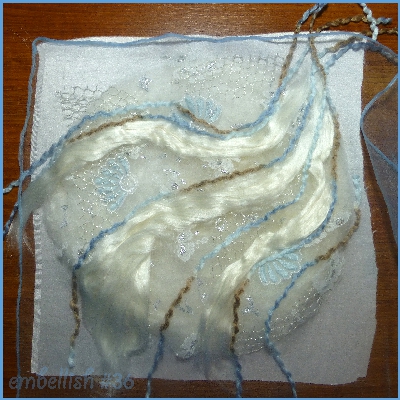
Trim away the excess scarf (and keep the off-cut for another project):
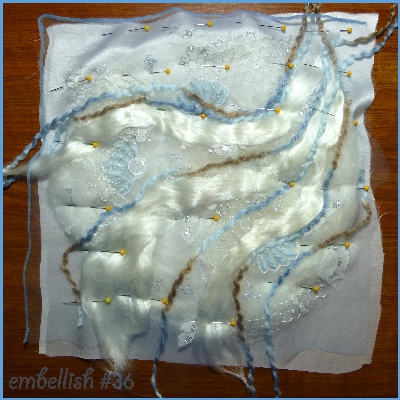
Pin all the layers together at relatively close intervals to prevent things from slipping around when you are stitching them down:
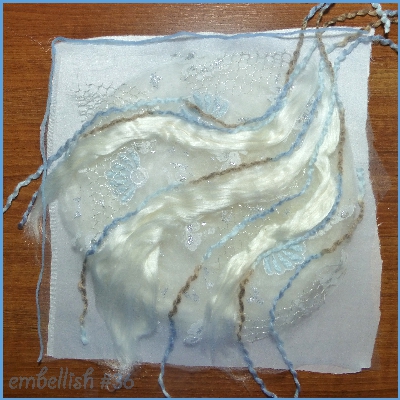
Trim off any excess tops, laces, and yarn which are overhanging the edges of the sandwich (to prevent them getting in the way when we start stitching):
Well, that’s it for part one of this fun project – for Part Two, click HERE.
If you have any questions, please leave them in the comments section below ☺
This project is by Lynda Worthington, Editor of Embellish magazine – see more of Lynda’s works HERE and HERE.
No Comments